Tips
Planning Your First Backyard Ice Rink: A Beginner’s Guide

There’s nothing quite like stepping outside on a crisp winter morning and skating on your very own backyard rink. Whether you’re dreaming of family hockey games, figure skating practice, or just a place for the kids to play, building a rink is easier than you think. With some planning up front, you’ll be gliding across smooth ice all season long.
Step 1: Site & Space

Flatness Matters
A rink works best on a fairly level yard. The sweet spot is less than 6–8 inches of slope, but modern rink systems (like D1 Boards) can handle up to 12 inches. Just keep in mind: more slope means more water, which takes longer to freeze and puts extra weight on your boards.
How to Measure Slope
- String Line & Level (DIY method):
- Drive a stake into the highest point of your yard and another into the lowest.
- Tie a string between them and use a line level to make it perfectly horizontal.
- Measure the ground-to-string distance at each stake, subtract the two numbers, and divide by the distance between the stakes to find your slope.
- Laser Level / Transit (Pro method):
- Rent a laser level or builder’s transit from a hardware store.
- Use a grade rod or tape measure to check multiple points in the yard.
- This gives a precise reading over large areas — perfect for bigger rinks.
Size & Access
Balance ambition with reality: a bigger rink is awesome, but it means more water to flood and more snow to shovel. Place your rink where you can easily run a hose and where snow removal won’t be a backbreaker.
Step 2: Materials & Structure
Boards
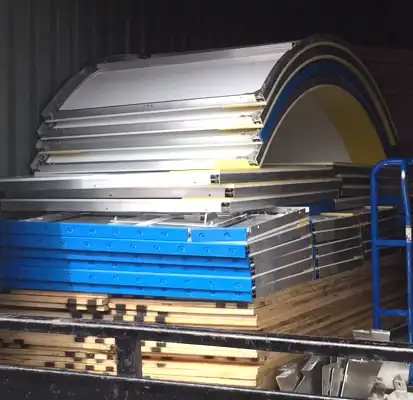
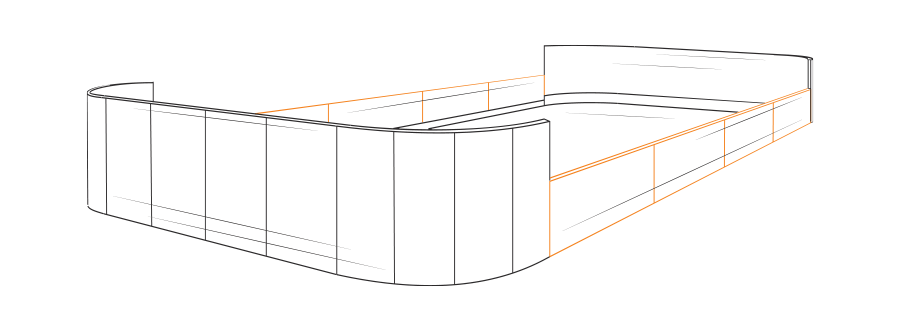
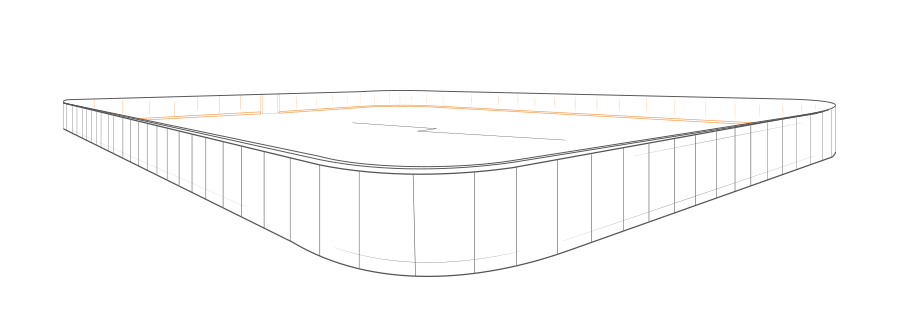
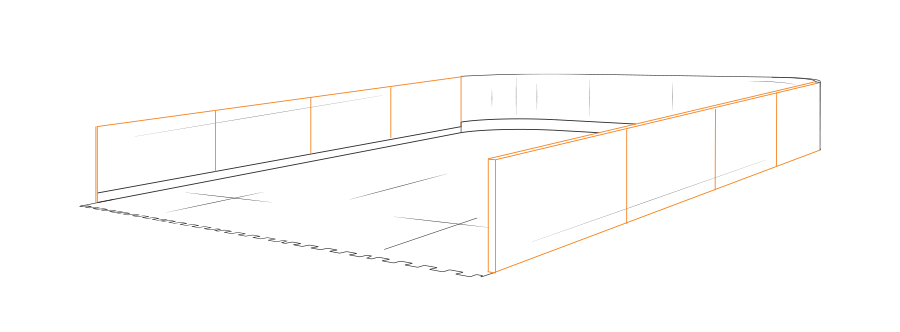
Sturdy boards frame the rink and hold the liner in place. D1 Boards are built to last, easy to set up, and simple to store in the off-season.
Liner
Use a white plastic liner (not clear — clear can damage your grass). Size it at least 12 feet larger than your rink footprint. For example: a 32’ x 48’ rink needs a liner around 44’ x 60’. Drape the liner up and over the boards, then back down the outside.
Supports/Bracing
Brackets are key. D1 offers grass and concrete brackets that prevent boards from bowing under the heavy water load.
Step 3: Freezing & Filling

When to Install
Wait until there’s 2–3 inches of frost in the ground and a forecast of at least 2–3 days below 25°F.
How Deep to Go
Fill until the shallowest corner has 3–4 inches of water. If your yard has 8 inches of slope, that means one side will be around 11–12 inches deep.
Flooding Technique
- First, do a “one-shot flood” to create your base layer.
- After that, add thin coats on cold nights to smooth and strengthen the ice.
Step 4: Maintenance

Snow Removal
Shovel after every snowfall. Leaving snow can insulate and cause rough patches.
Resurfacing
Make a DIY resurfacer: connect a hose to PVC pipe, attach a towel underneath, and drag it over the ice for thin, smooth layers.
Crack Repair
Keep a bucket of slush (snow mixed with water) handy to patch cracks and holes.
Step 5: Other Considerations
Drainage
When spring comes, poke small holes in the liner to let the water slowly drain. If needed, use a siphon hose or pump to guide the water away.
Storage
D1 Boards stack flat and only take up about a 4’ x 4’ x 5’ pallet space. Brackets fit neatly into a standard 27-gallon tote.
Final Thoughts
Building your first backyard rink takes some planning, but the payoff is huge: fresh air, family fun, and memories that last long after the ice melts. With the right site, sturdy boards, and smart maintenance, you’ll be set for winters full of skating.
Shipped to New Jersey
Combo Boards with
Synthetic Ice
Shipped to Grand Forks, ND
Outdoor Rink
With Tall Boards
Shipped to Twin Cities area, MN
Shooting Lane
With Tall Boards & Synthetic Ice