How-Tos
How to Flood an Ice Rink in Your Own Backyard

Backyard ice rinks are a ton of fun, and can provide you with a great place to practice your skating and stickhandling skills from the comfort of home. They do, however, require a bit of work and upkeep to ensure they perform at a high level all season long.
Among the more challenging aspects of rink ownership is the task of flooding and maintaining the ice throughout the winter. Here are some tips on the best way to flood a backyard rink to help you enjoy hours upon hours of smooth skating.
Step 1: Finding the Right Spot
Before you dive into how to flood an ice rink, you first need to find a flat, level area big enough to freeze. Without this, creating an even, skateable surface may not be an option within your backyard.
Finding an area protected by shade isn’t an absolute must, but it will provide some added benefits as the reduced sunlight will help the ice stay frozen for longer.
Snow being on the ground isn’t a dealbreaker either. If there is a lot of snow on the ground, pack it firmly and evenly at a thickness of two inches or more throughout the area you plan to place the rink. Unpacked snow will result in soft, lumpy ice, collapsing sections, and rapid melting during warm periods.
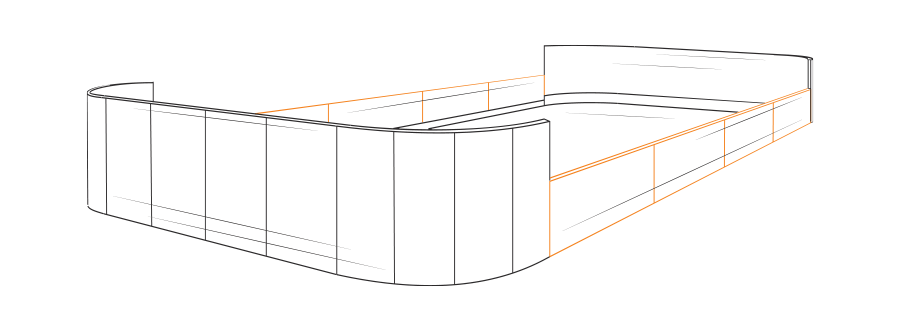
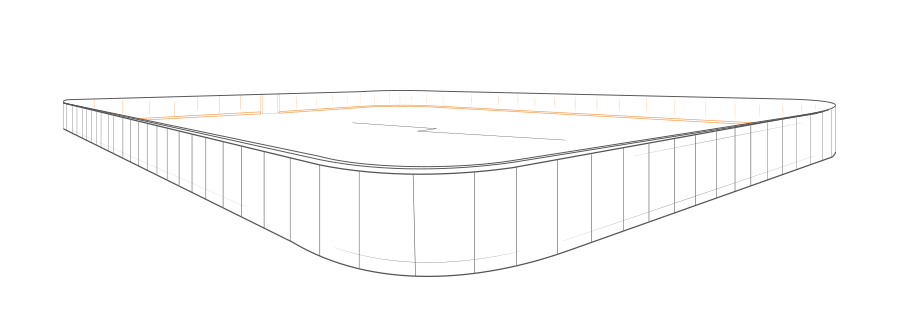
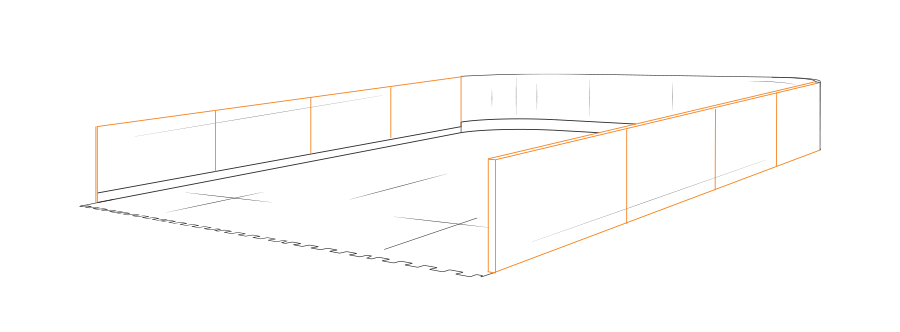
Once you have your spot picked out and ready, build the walls of the rink by using hockey boards and framing them into the shape you desire.
Step 2: Laying Down the Tarp or Liner
After the rink area is ready but before you flood, cover the area with a tarp, plastic liner, or other similar material. We recommend using a white liner rather than a blue, brown, or green one. Colors attract sunlight, which will warm the ice more quickly and hinder its ability to fully freeze.
Step 3: Waiting on the Weather
Now that the area is ready, the boards are set up, and the rink liner is in place, it’s time for the fun part: actually flooding the ice rink. But you’ll need to find the right time to do so.
Flooding at night when the temperature is between -4 and 14 degrees Fahrenheit (or -20 and -10 degrees Celsius) and when snow and wind aren’t an issue will produce the best results for a ripple-free surface.
Make sure to rely on actual air temperature when gauging this – not the “feels like” temperature or wind chill. You’ll also want to make sure the few days after initial flooding are forecasted to be cold and suitable as well, to allow you to build a thick layer of ice quickly and easily. Target those cold snaps.
Step 4: Just Add Water
Once you have suitable weather conditions, it’s time to fill the tarp-covered rink area with hot water. Using hot water makes a big difference in the quality of the ice because it contains less dissolved oxygen – or micro air bubbles – which aids in creating a harder ice surface.
When you start flooding the ice rink, do so from the furthest point away from the water supply and move across the rink, applying a light spray over the entire surface until wet. Never direct the force of the water downward toward the ice, instead spraying upward and outward.
Using a nozzle is the best way to flood a backyard rink, rather than flooding from an open hose. This is because excess water is difficult to remove and can cause issues for you moving forward.
Make sure each layer is frozen before flooding the ice rink again, and note that more floods is better in helping sustain the ice during mild or warmer periods. If a layer takes more than 15 minutes to freeze, it’s a sign that you’ve used too much water and should reduce going forward.
Once you’ve poured and frozen two-to-three inches of solid ice, your rink should be ready to skate.
Maintenance Tips
Just because the rink is flooded doesn’t mean the job is over. You’ll want to continue flooding the rink periodically to build back up that smooth top layer.
Do so by repeating the tasks we’ve listed above, making sure to clear all ice chips and snow from the surface with a shovel or a snowblower before reflooding.
There are several additional maintenance steps you should take to ensure your ice stays in good condition throughout the winter. Some of these steps include:
- Removing snow from your rink after every snowfall to prevent it from melting into bumps and creating an uneven surface
- Adding a layer of hot water to the top of the ice when you’re done skating for the day so it can freeze overnight
- Storing your hose properly to avoid freezing
Make Your Dream Rink a Reality with D1 Backyard Rinks
Thousands of customers throughout the U.S. and Canada have trusted D1 Backyard Rinks to provide them with a superior DIY hockey experience, including the homes of youth hockey players, commercial training facilities, and many NCAA and professional hockey teams. Our professional rink designers are here to recommend the best solution for your unique needs and environment and are also available to ensure installation and maintenance are a breeze from start to finish.
Contact us today to learn more or check out our Rink Builder tool to start making your vision a reality.
Shipped to New Jersey
Combo Boards with
Synthetic Ice
Shipped to Grand Forks, ND
Outdoor Rink
With Tall Boards
Shipped to Twin Cities area, MN
Shooting Lane
With Tall Boards & Synthetic Ice